How to Get Started with NotebookLM
Access the website
To get started, you will need to navigate to https://notebooklm.google.com and launch the app in your browser.
Use your Google account to log in
Log in using a Google account. If you don’t have an account, you can create one for free.
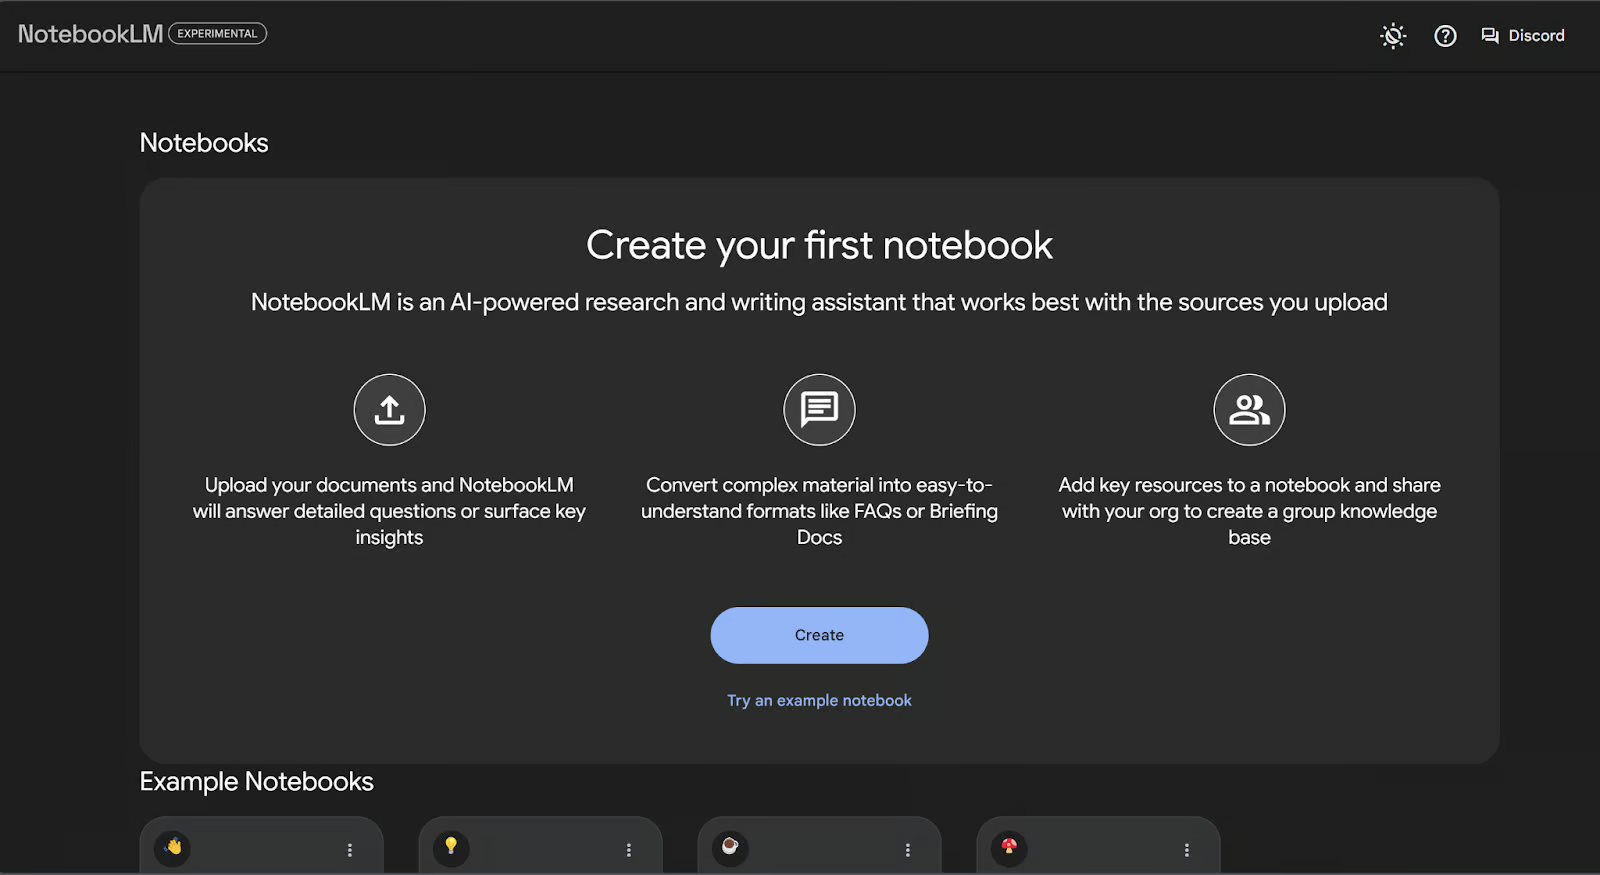
Once you’re signed in, you should see the following screen.
Setting Up Your Notebook
Click on “Create” to create a new notebook.
Add sources
You can start by adding sources to your notebook: either by uploading files or by linking to another resource.
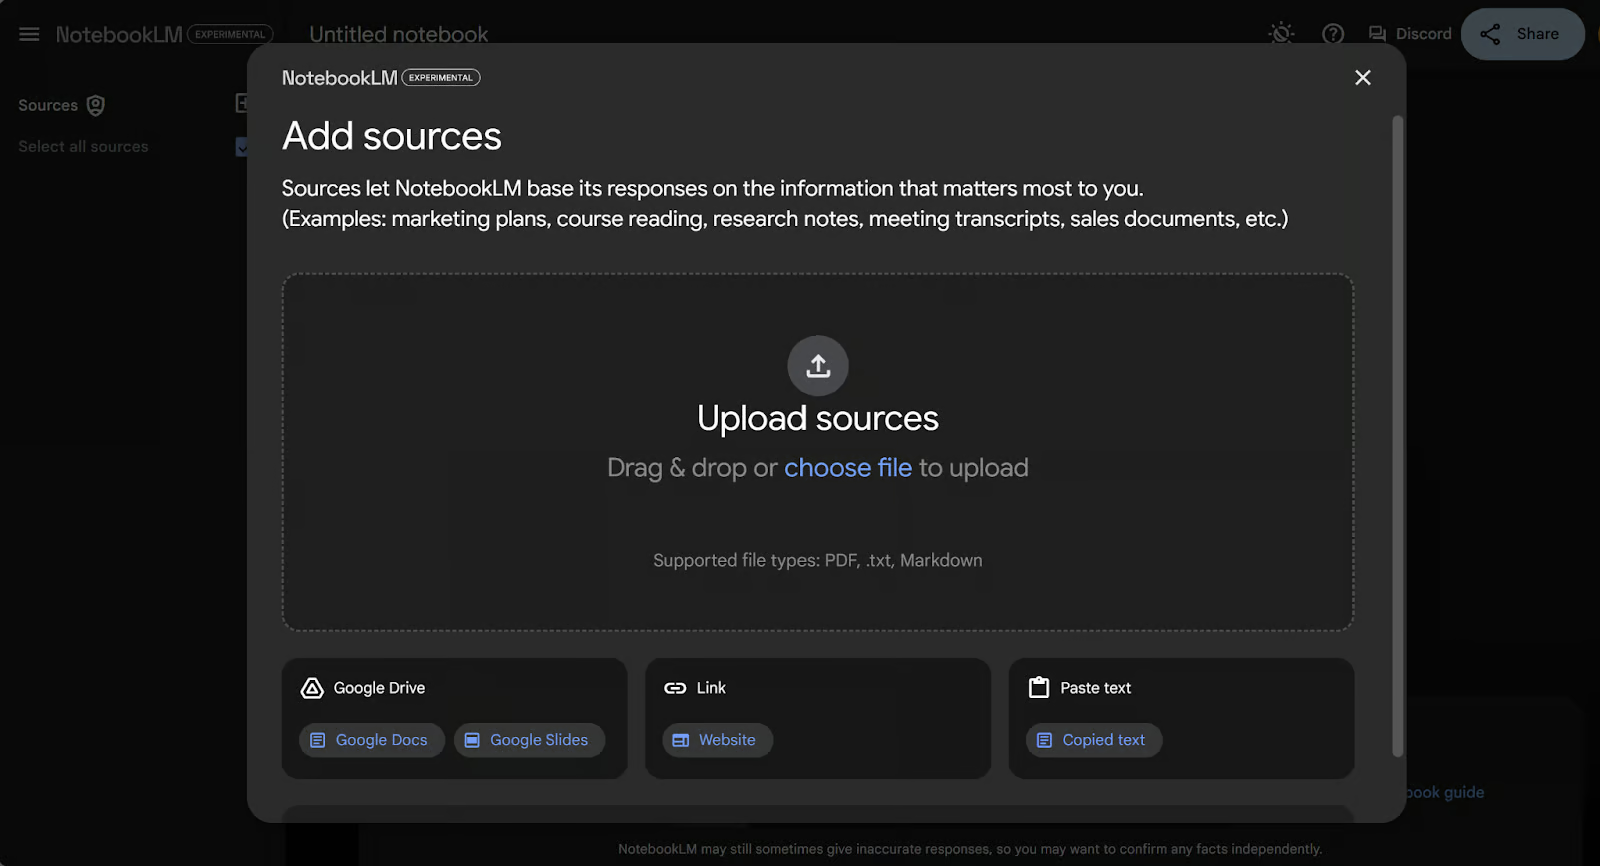
Adding sources can be done either through uploads or a direct link.
- Upload files from your computer (PDF, .txt, or Markdown)
- Link directly to a website using its URL
- Copy and paste text directly into the notebase
- Link to a Google Doc
- Link to a Google Slides presentation
Restrictions
You can only upload a maximum of 50 files, with up to 500K words in each.
Supports mostly text formats, but does not read Excel spreadsheets
Larger documents may take more time to process.
In most cases, NotebookLM’s version of a source is the version that was imported. If you have a working document that you are continuing to add to (eg. a quotes file or bibliography), you should use a Google Doc since NotebookLM reads these in fresh every time it is launched.